Wildlife Photography in Yellowstone: 11 Pro Tips
Yellowstone Wildlife Photography
Yellowstone National Park protects 2.2 million acres of pristine valleys and mountain ranges filled with fantastical geysers, roaring waterfalls, historic lodges, and, perhaps most importantly, hundreds of species of animals big and small. More than 4 million people visit Yellowstone every year, and most of those visitors bring a camera or smartphone, hoping for that picture-perfect shot of one of Yellowstone’s iconic bison, moose, cougars, elk, eagles, and wolves.
Here are pro tips to help you capture frame-worthy photos and have fun doing it.
Lenses
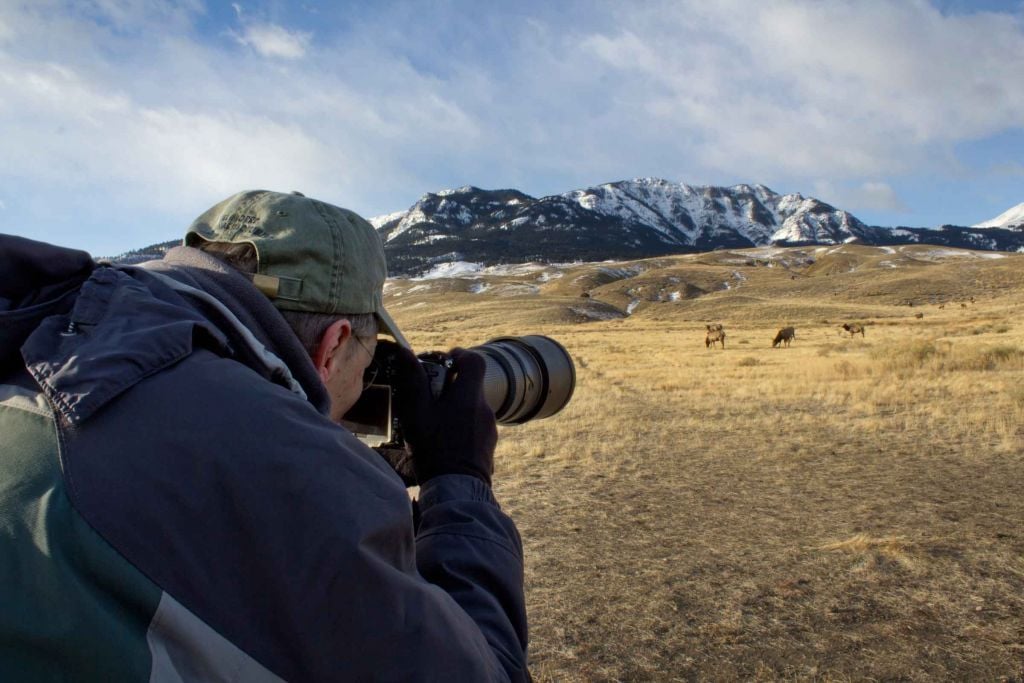
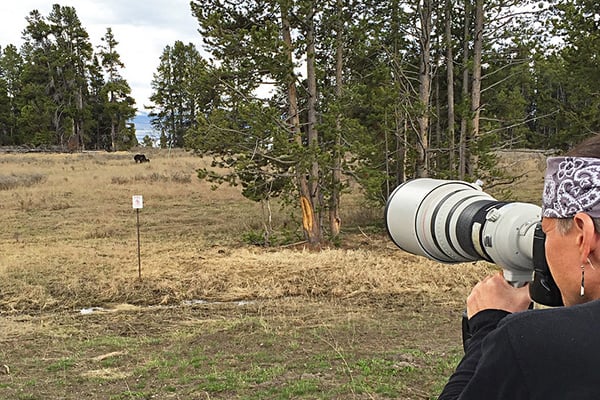
Huge, expensive lenses are usually the first thing people think about when photographing wildlife. Sure, a $12,000 600mm f4 telephoto lens would be great, but you don’t have to mortgage your home to get great wildlife shots in Yellowstone. And those lenses weigh close to 10 pounds alone. So what is the best lens for wildlife photography? Any focal length in the 300 to 500mm range will work great for serious wildlife photos and will cost only a tenth of that price or less. Even the trusty 70-200mm zoom lens that many photographers already own is extremely useful, especially for bison. In addition to having top-notch optics, an expensive “pro” lens has a wider maximum f-stop that is useful for throwing the background out of focus and isolating the animal you’re photographing. And it also allows the use of faster shutter speeds.
However, far less expensive lenses of the same focal length are also optically excellent, and what they lack in maximum apertures they make up for in being much lighter and easier to manage.
Bottom line: Your technique and timing are often more important than a huge telephoto lens.
Cameras
“The best camera is the one you have with you” is a favorite photography adage. Never in the history of photography have there been so many excellent options. Even cell phones are capable of producing great Yellowstone images, although they often only have a wide-angle lens.
Wildlife photographers typically need a camera on which to change lenses. They also need cameras that create quality images when using higher ISOs, which is how sensitive the camera is to light. A higher ISO allows you to use a faster shutter speed, even when it’s dim out. Full-frame cameras (in which the sensor size is the same as a 35mm film frame) often perform better in low-light situations. A cropped sensor camera, such as an APS (typically half the size of a 35mm film frame) has the advantage of making your telephoto lenses even longer by multiplying the focal length by 1.5. With an APS camera, for instance, a 300mm lens effectively becomes a 450mm lens.
Some things to consider when using a camera for wildlife photography are 1) the availability of lenses 2) quality of images when using higher ISOs 3) speed and accuracy of the autofocus system 4) whether or not it has weather sealing 5) overall size and weight.
Consider the Background
Although it’s easy to overlook in the heat of the moment, the background is a critical part of a wildlife shot. It can give context to your images. Try to frame your photo so the background complements the animal, or at least doesn’t detract from it. You don’t want the rack of an elk to become lost in the tangle of trees 20 feet behind it, or that grizzly bear to blend into a brown landscape. Make sure to include shots of animals in their beautiful scenery with shorter focal-length lenses or even wide-angle lenses, in addition to tight shots with telephoto lenses.
Open Your F-Stop
Sometimes there’s not much the photographer can do to change the background. In these cases, opening the aperture to a wide setting, such as f/4, will sufficiently blur the background and give the animal a 3D-like appearance. You’ll have to increase your shutter speed to counter any movement or camera shake. However, you need to be pinpoint focused on your subject, preferably the eyes, as the shallow depth-of-field that throws the background out of focus can also throw your main subject out of focus.
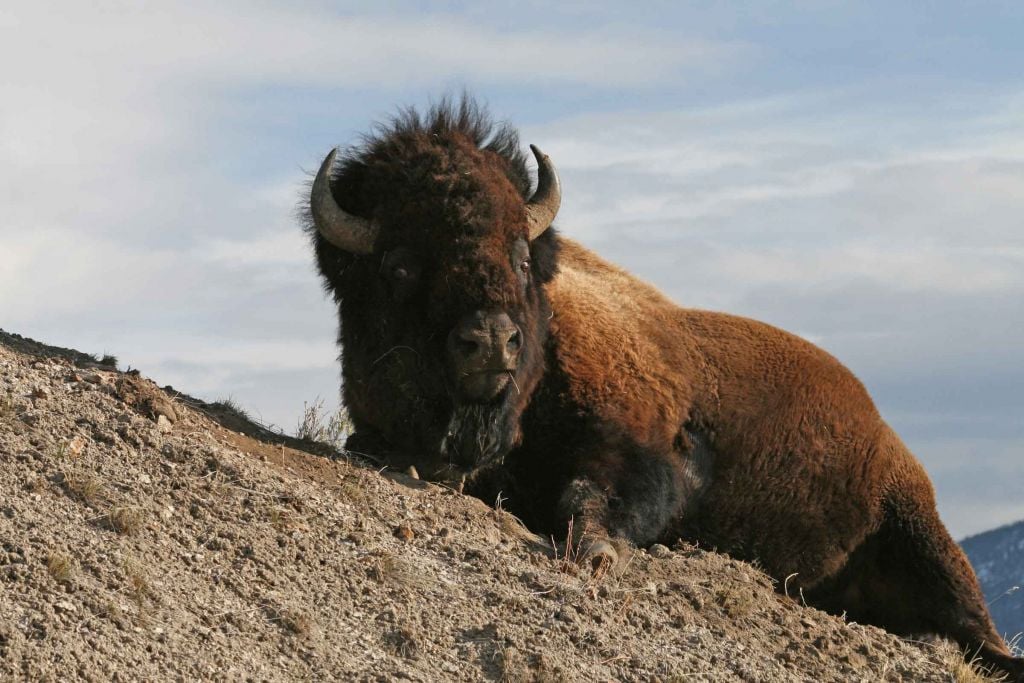
Bison Exposure
With more than 4,000 of these majestic animals within the park boundaries, you’re all but guaranteed to get great bison photos. But their dark, wooly coats absorb light like a black hole, and many people lament that their bison photos lack detail. When photographing bison, try overexposing by a half-stop to a full stop from what your camera’s meter recommends. A simple trick is to set your exposure compensation to +1 and shoot away based on what your camera’s meter says.
The Eyes Have It
Whenever you’re photographing an animal, try to get its eyes in focus, just as you would a person’s. No matter how great the composition or the action, if the eyes are noticeably out of focus, the image suffers. If you’re photographing several bison together, decide which animal is the most important to your composition, and focus on its eyes. By using your camera’s focus-lock button, or by depressing the shutter button halfway down, you can focus on the eyes, lock the focus for that distance, and quickly recompose the shot. Especially with telephoto lenses, the distance of even a few feet can change the focal plane.
Pay Attention to Shutter Speed
Motion blur is caused when the subject moves too fast for the selected shutter speed or when the camera moves when the photo is taken. As a rule, the shutter speed should be the reciprocal of the lens’s focal length. For example, if you’re using a 300mm lens, the shutter speed should be 1/300th of a second or faster to ensure that there’s no blurring. To increase your shutter speed for proper exposure, open your lens’s f-stop to a smaller number (i.e., 5.6 or 4, not 16 or 11). If you still need more speed, increase your camera’s ISO, or set the ISO to “Auto ISO” and use the Shutter Priority Mode on your camera. In Shutter Priority Mode, you tell the camera what shutter speed you need, and the camera automatically selects the proper aperture and ISO settings for a good exposure.
Learn to Pan
Panning is when you follow a fast-moving animal with your camera. For instance, you may spot a bald eagle in a tree above the Madison River near the West Entrance and want one of the majestic birds in flight. Keep your lens trained on the eagle and wait until it takes off. Eagles typically hunch down quickly before springing into flight, and this millisecond action will be your clue to start shooting. Make sure your camera is set to its fastest drive setting, and hold down the shutter button as you follow the eagle with your camera as if you were taking a movie (which you essentially are). If you’re lucky enough to see a running wolf in Lamar Valley, this technique works as well.
You can use a fast shutter speed to freeze the action of wings and legs or a slower shutter speed that will blur the animal’s moving appendages, but keep the parts that are moving in the same direction and same rate as your camera in focus (i.e. the head and eyes). This can give your photos a feeling of energy and movement, blur out a distracting background, and help when light is dim and you just can’t get a fast shutter speed.
Get To Know Yellowstone Before You Arrive
Study a map of the park before you arrive to learn where its many features are located and how long it takes to travel around its 3,500 square miles. Pick one up within the park and have a pen handy so rangers or other photographers can mark items of interest for you. Cell phone service is patchy within the park, so you’ll often have to rely on paper methods. Bring a compass to orient the map and a small flashlight, just in case.
Know when sunrise and sunset are and where you’d like to be to shoot at those important times when the light is beautiful and the animals are most active. Learn something about the animals’ habitat and behavior, in advance, so you’ll be prepared to photograph knowledgeably.
Practice Makes Perfect
Nothing is worse than missing a once-in-a-lifetime photo opportunity as you fumble with your camera. Know how your tools work before you use them, and practice before you arrive at the park. Try photographing birds in your yard, getting action shots of your dog, or stalking your cat around the house.
Don’t Over Pack
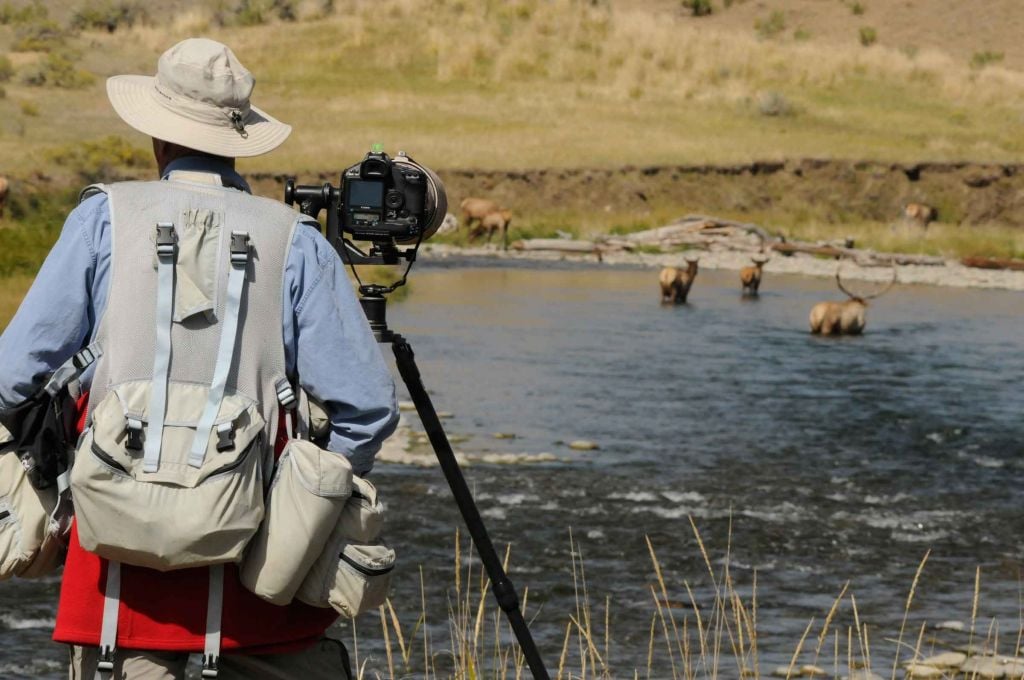
One mistake many photographers make is taking every piece of gear they have with them. But that 20-pound camera bag turns into a backbreaking anchor after a few hours, especially when you don’t use most of the things you’ve brought as you hike down to Yellowstone Falls. You’ll probably use just one or two lenses for everything — typically a favorite telephoto and a wide-angle for landscapes. Make sure you have plenty of extra memory cards and charged batteries.
Talk to the Experts
The first thing professional wildlife photographers do in Yellowstone is check in with a ranger to ask about recent wildlife sightings. Is there a recent elk kill where bear and wolves have been hanging around? What wolf packs have been active and where? Where are the elk grazing this time of year? What time of day has that grizzly been seen near Dunraven Pass? Yellowstone’s rangers love speaking with photographers who care about and are respectful of the wildlife, and they will share up-to-date information and tips.
Respect the Animals
Finally, it’s important to be careful and respectful of the animals. Keep a safe distance from all wildlife, which are unpredictable and can be dangerous. It is imperative for park visitors to stay at least 100 yards from bears and 25 yards from all other wildlife.
It’s also critical that all park visitors be respectful of other visitors…for example, don’t stop in the road and block traffic to watch or photograph wildlife. Look for turnouts and then enjoy the animals from a safe distance. We recommend all visitors consider taking the Yellowstone Pledge in an effort to ensure everyone the best possible experience in Yellowstone. And while you’re at it, why not tag your photos with #YellowstonePledge.
There’s always something wonderful to photograph here, and with care and flexibility, you’ll come home with many frame-ready pictures of Yellowstone. Looking for even more Yellowstone wildlife photography pro tips? Check out our interview with Tom Murphy.
Steve Larese is a travel journalist and photographer based in New Mexico. He specializes in writing about and photographing America’s national parks. See more at stevelarese.com.
For more travel experiences to Beautiful Places on Earth™ available from Xanterra Travel Collection® and its affiliated properties, visit xanterra.com/explore.
Want to experience Yellowstone in-depth? See what makes Yellowstone National Park a great place to work for a season or longer!
05012017
Learn More About Photo Tours
- Learn More About Photo Tours